Non-Destructive Examination
Engineering products must be inspected during and after manufacture and often during their service life, that the condition is suitable for their purposes.
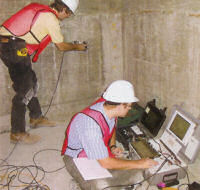
NDE is the name to the various processes of inspection which do not render the item examined unfit for further use with an effective methods at minimum cost, not only to detect the defects but also to determine sizes and types.
INDUSTRIAL RADIOGRAPHY is a preferred NDE Method for examination of butt welds, castings, assemblies such as aircraft steel bridges and the like using either an x-ray or a radioactive isotopes. Its application calls for particularly in interpretation, accepted in the most industries as a reliable and essential inspection tools that give clients with a permanent record of the inspections.
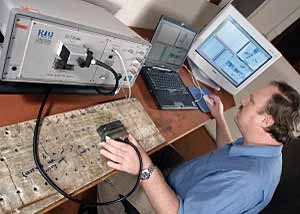
ULTRASONIC examination of metals consists of passing sound waves through the material until they are reflected by an interface. If flaws are present, or if an echo is picked up from the bottom surface of the material, an indication is reflected in the instrument. With ULTRASONIC, defects can be located many feet from the ultrasonic probe and the distance from the surface is readily known, although the exact shape and type of defect our experienced technicians can easily assess the test results using the latest software technologies applicable to the job.
ULTRASONICS is used in examining forge materials and some configuration of welds. Interpretation is done at the same time by the operators and for this reason only highly skilled operators can be allowed to use the equipment if reliable results are to be obtained. Apart from detection ULTRASONICS can readily be used to measure thickness of materials.
MAGNETIC PARTICLE EXAMINATION of materials can only be applied to ferromagnetic materials and is not most useful in the location of surface and near surface defects. When a magnetic field is applied to a component when it crosses a defect, the latter acts as a small magnet. The crack can be revealed by applying ferrous particles suspended in a liquid which is usually odorless. When a magnetic field is at 90 degrees to the defects, it gives the best location of the defects and for this reasons.
DYE PENETRANT TESTING is the detection of the surface open defects by the use of dyes. These may be fluorescent or colored. The dyes contain wetting agents to make them flows evenly into very fine defect. Depending on the type of discontinuities. The dye is left to penetrate for a period of from 5 to 30 minutes. Excess dye is then removed and a developer applied. Where there is a defect, dye is drawn out by the developer leaving an easily visible indication of defects.
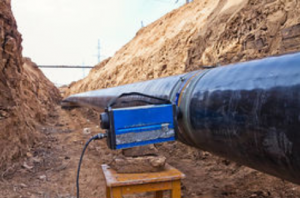
HOLIDAY TESTING is a method employed by using a high voltage arc to detect holidays in pipelines, vessels, storage tanks, and even roofs which are often coated with bitumen or other similar forms of insulations against corrosion. “Holiday” means a spot carelessly left uncoated during coatings / tarring and other natural causes due to the exposure to corrosive soil and atmosphere.
